The pressure is now getting turned up to get the kids Knockturn Alley closet functional again but I had to figure out what I was going to for the flooring first. Flooring was such a dilemma for me. Carpet would have been quick and easy but it would have really ruined the authentic look of the room. I had it in my head that a cobblestone street was what I needed but adding real cobblestone was not an option and even faux cobblestone would be too thick. After all my head scratching, in the end I had resolved to go to Home Depot and by paint and just hand-paint a cobblestone look and lacquer it when done.
So here I am in Home Depot talking with the paint guy, showing him pictures of my room in progress from my phone and some other guy is peeking over my shoulder and listening in. Once the paint guy gave his advice and left, the spectator comes over to me and says "Hey, you can't do what that guy told you. It would be such a shame. I am a concrete worker and I think you aught to do stamped concrete". After talking with him about it for a minute he gave me the name and address of his wholesale supplier and I went and talked with them. The following pics show the results of my fortuitous encounter:
 |
| 1st thing I had to do was remove all of the doors. |
 |
| Next was to thoroughly clean the concrete. I had been so careless in protecting the concrete from paint splatters that this was quite an ordeal. Several coats of paint stripper and acid etching and I still had areas that were not even close to a clean surface. |
 |
If you can't scrub off the grime.... GRIND it off. My concrete grinder made short work of it but boy does it make a dusty mess!
With my concrete cleaned and prepped I was ready to start mixing, pouring, and stamping concrete! |
 |
| I started back in the closet so I could try it out in the least visible area in case of mess-ups. For my 1st go at it I thought it looked great! OK, OK, so my FIRST mix actually came out in a semi-solid block the shape of my 5 gallon bucket because I mixed it too dry and had to throw it out..... but my SECOND attempt is what you see here. ;P |
 |
| Next I moved on out from the closet into the main area. The milky liquid is a bonding agent to help glue the old concrete to the new. |
 |
| Concrete is all spread out. It is only about 1/4" thick. |
 |
| The concrete distributor rented me the stamps which were rigid enough for me to kneel on while I worked. |
 |
| Another view of the work in progress. |
 |
| Final stamping. |
 |
| This is turning out way better than I thought it would. |
 |
| Justin wanders over to the house to see what's up. I hand him the vacuum. |
 |
| Now that the cobblestone is dry and clean it is time to add some color and age it. |
 |
| After mopping the whole floor with one color I make 2 more passes with a bucket and hand brush, splattering on 2 different colors to add depth and variety. |
 |
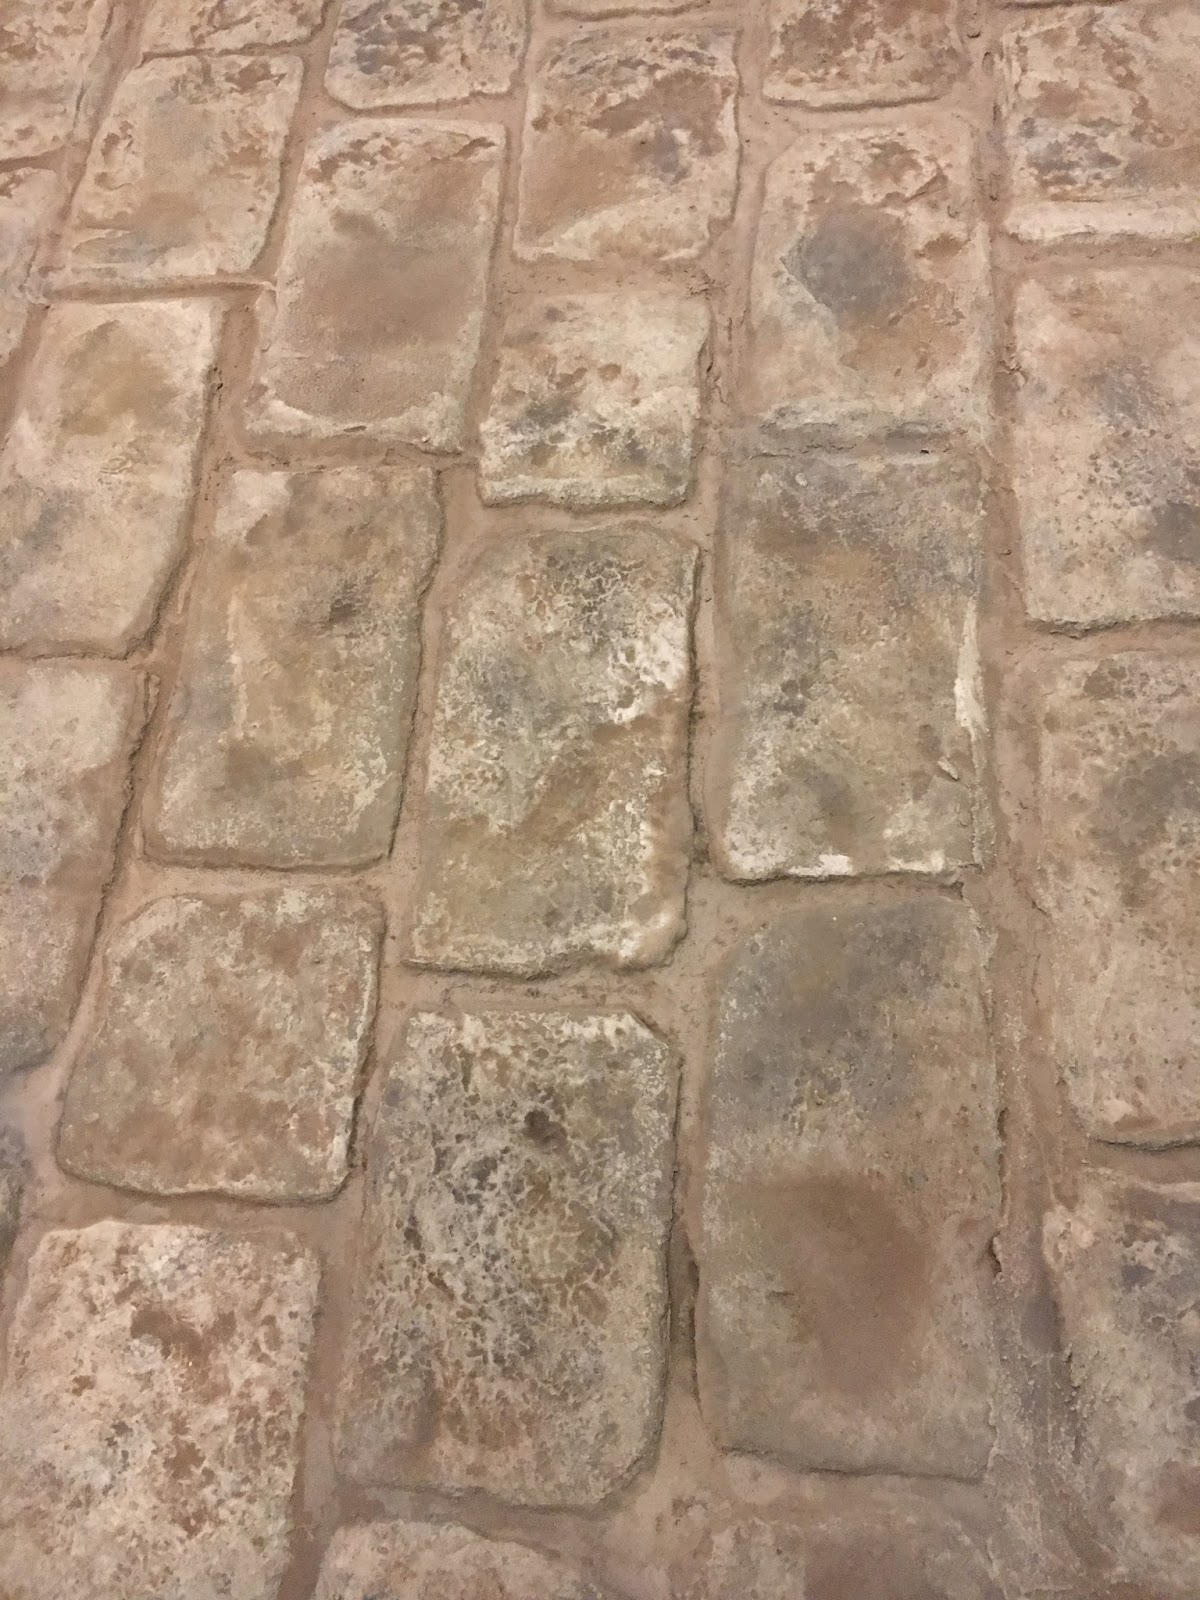
| That is a proper dirty cobblestone street! |
 |
| Color is on. Let it dry for a day then I seal it. |
 |
| It looks much lighter when dried out. |
 |
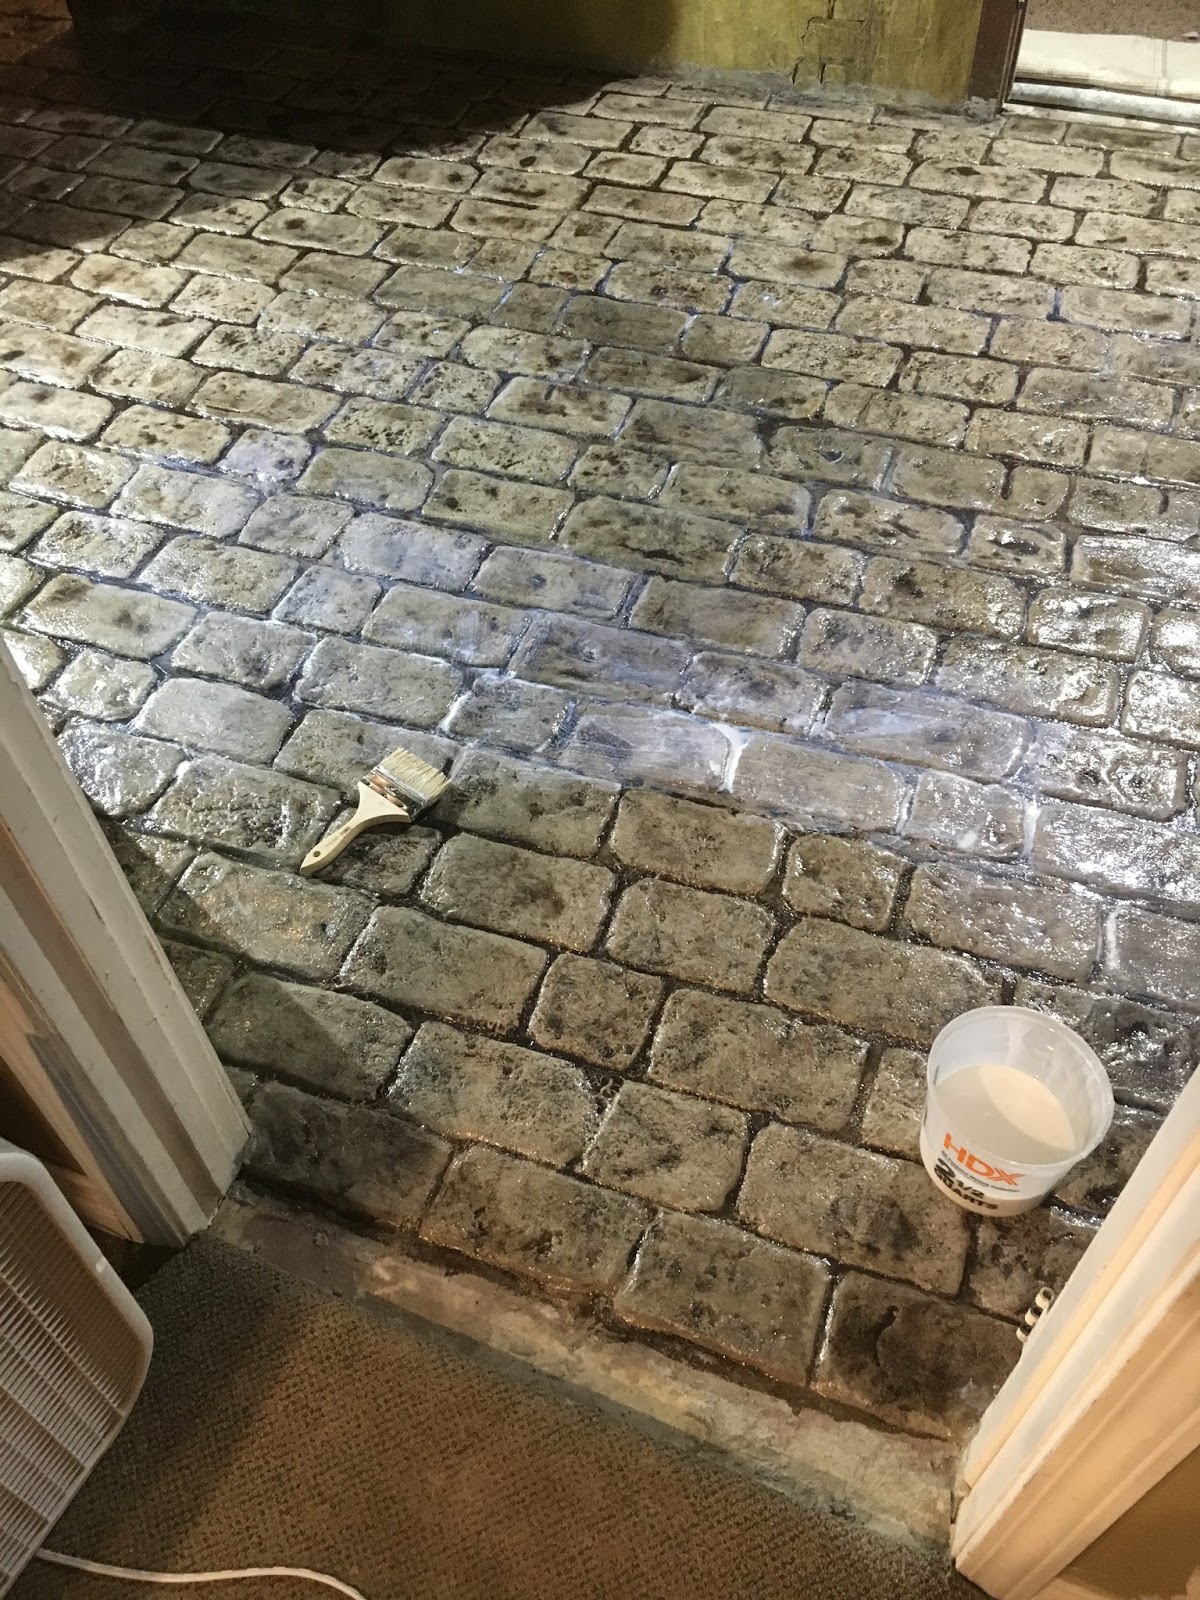
| This is the epoxy based floor sealer. I will put one one good coat of this and then a coat of one other type of sealer after. |
 |
| Brushing it on. Apllying the sealer really darkened up the "dirt" again. |
 |
| So, if you do not mix it well, or apply it too thick, it doesn't dry completely clear. I told the distributor of my issue and he said a heat gun would help to clear up the milky spots. I spent two whole evenings heating parts of the floor to clear up my misstep. I used a drill and stirring rod to mix the top coat sealer and that worked perfectly. |
 |
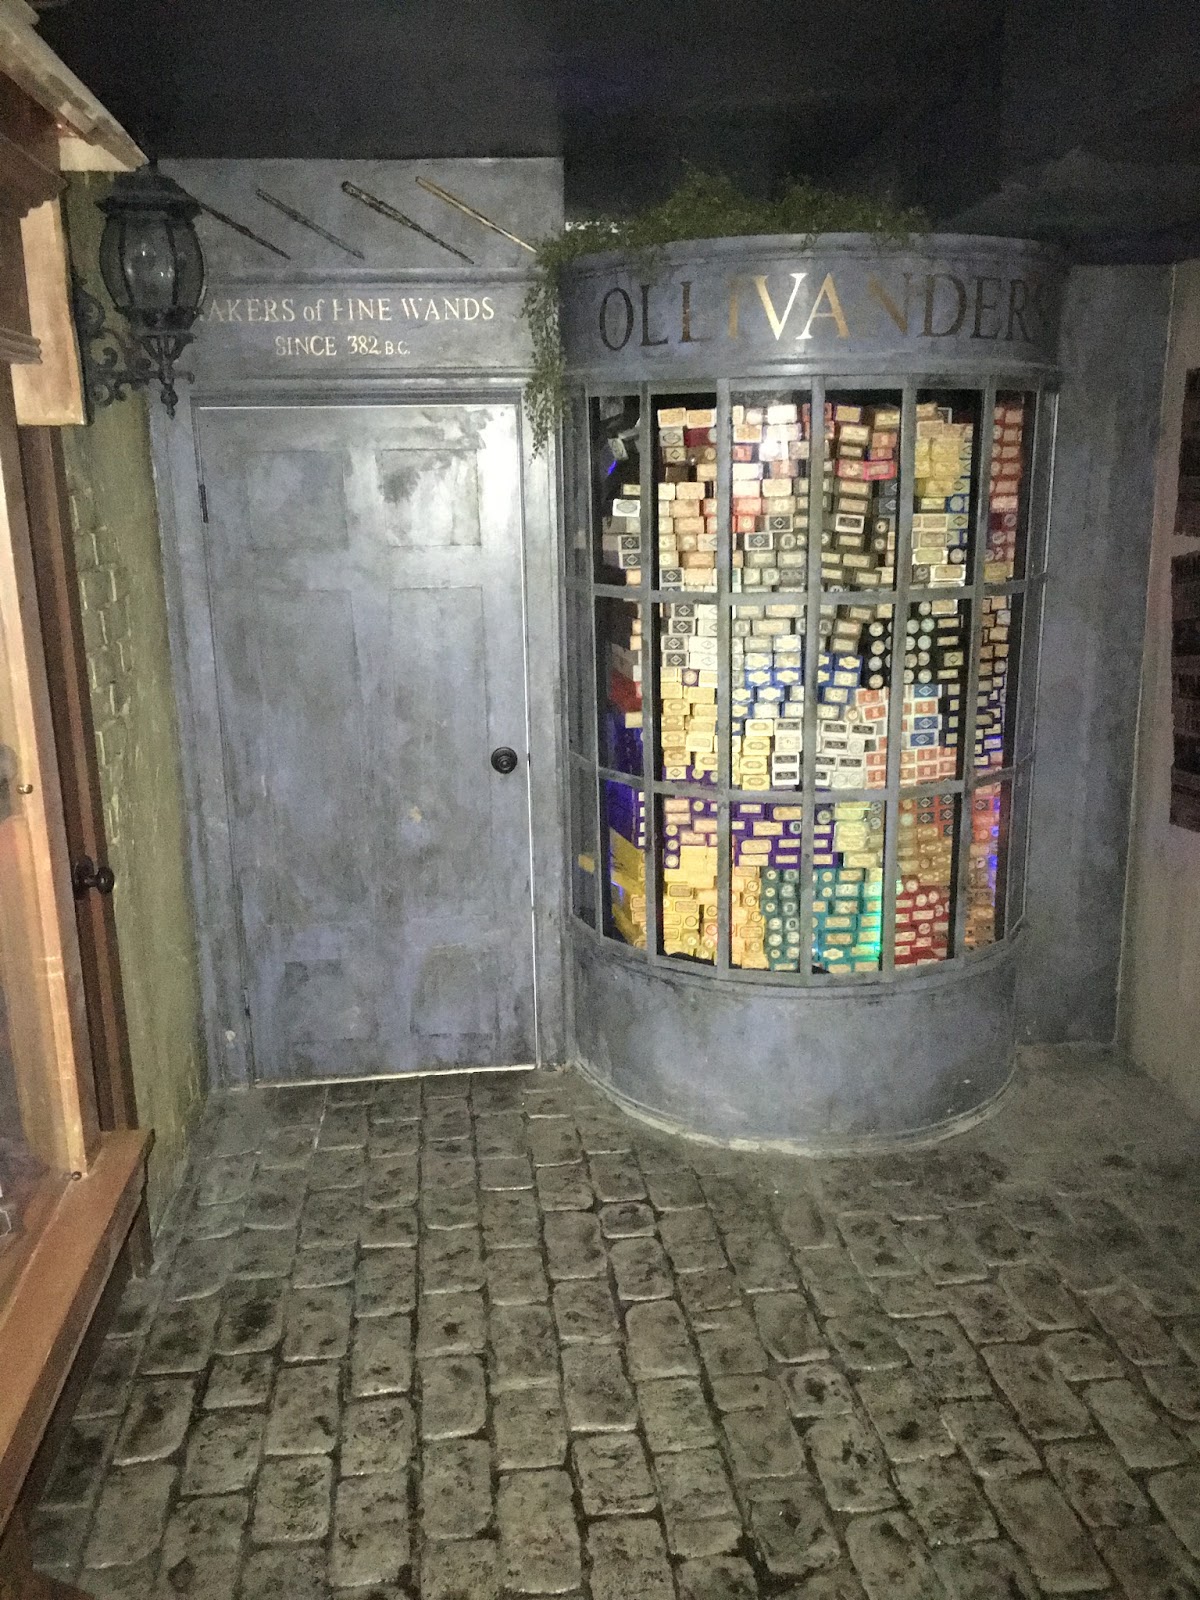
| So now with the floor done I am able to finish out the closet. |
 |
| I had one blank wall next to Ollivanders that I thought needed something. I thought posters plastered to the wall would fill the space. Some searching online got me several authentic looking replicas of artwork from the movie to display. I printed them out, cut them out, and layed them out on the kitchen floor to see how it would look before I glued them up to the wall. |
 |
| I used some spray glue on the back-sides of the posters and put them in place. Oh, and see that hole I cut in the ceiling up there? Several people had commented that the room was a bit too dark, so I ran electrical wiring from my existing street lamp to another part of the room where I added another lamp for better lighting. |
 |
| Here is the newly added lamp. |
 |
| It lights up the Ollivanders sign nicely. |
 |
| I was concerned about how to protect the paper posters from wear and tear. My wife introduced me to the wonders of Mod Podge. I slathered the posters with the Elmer's Glue like substance which dried clear and gave the posters a nice protective coating. I also covered my electrical wiring hole with an access panel in-case I should ever need to get up above again. |
 |
| Posters include the 422nd Quidditch World Cup, wanted posters of Sirius Black and several death eaters, as well as one advertisement for the Weasley Twin's wildly popular Skiving Snackboxes. |
 |
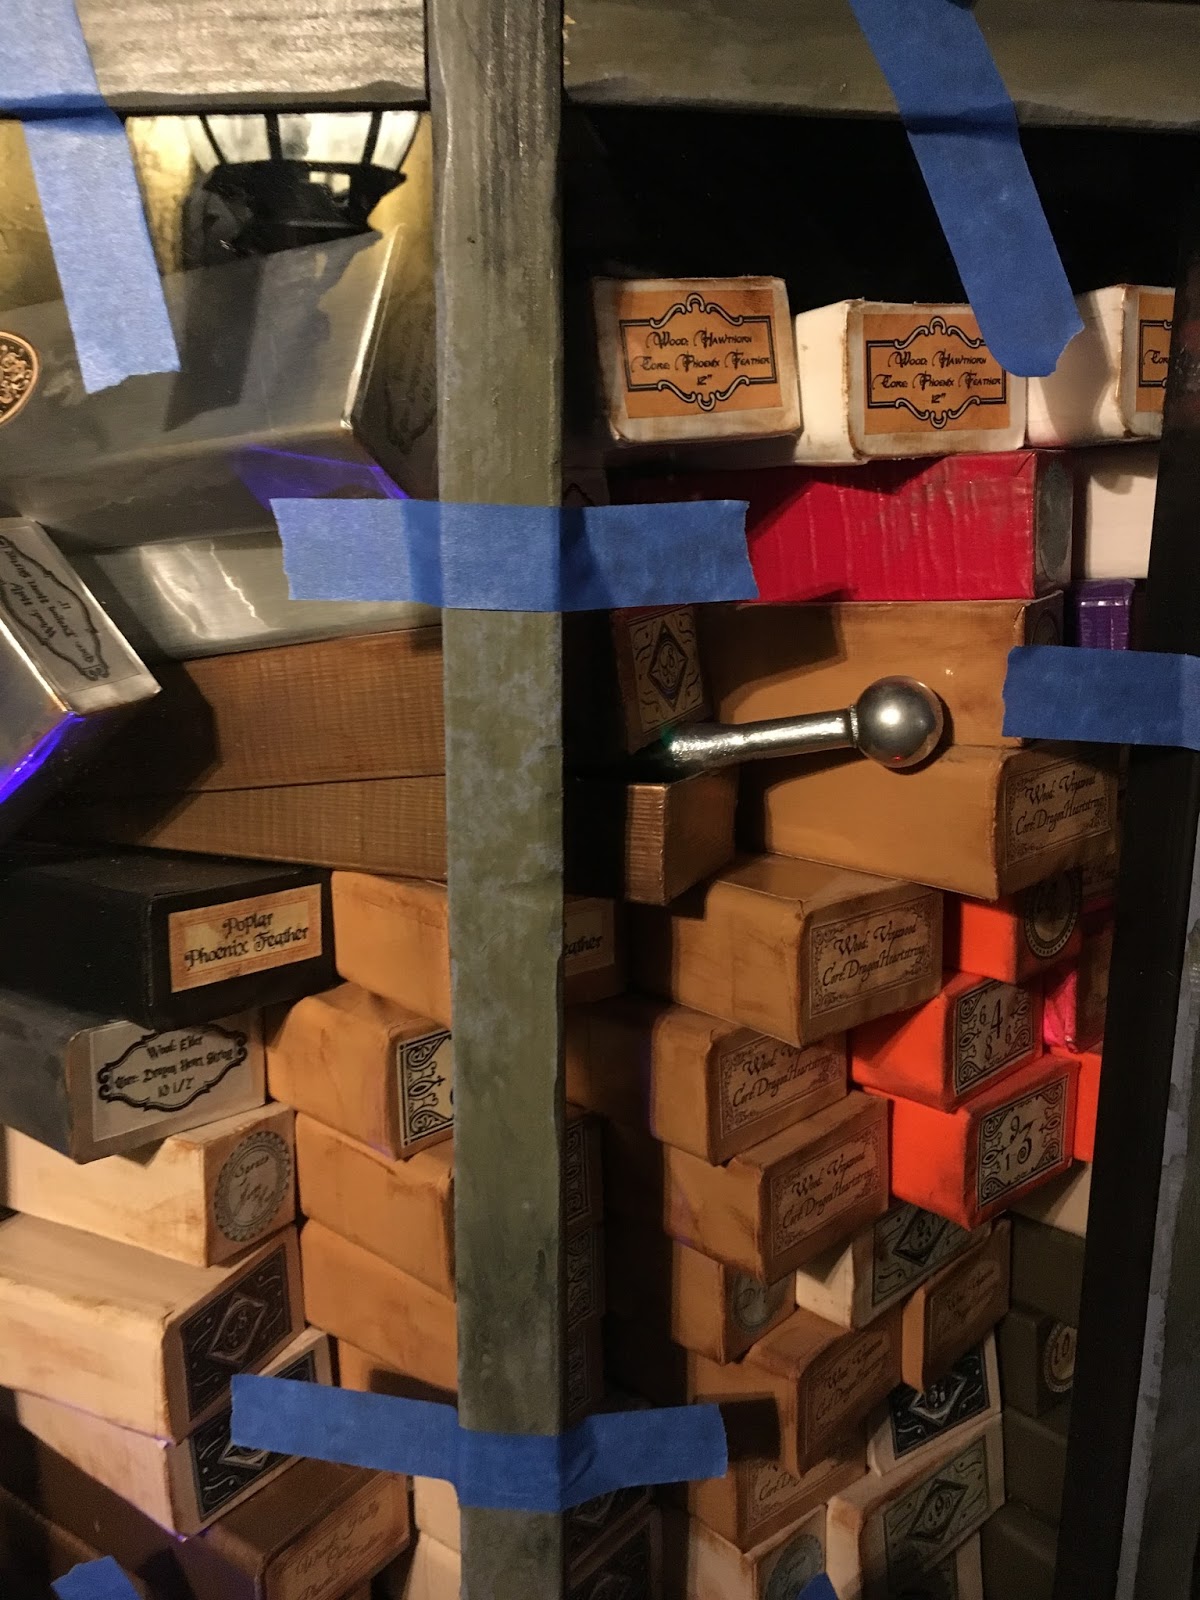
| My next project is to finish Ollivanders wand shop. I think I said that in a previous post but I have procrastinated this one for as long as I could. You can see in this picture that I have mounted my vertical window supports and have an ever growing stack of wand boxes ready to be set into place. The plexi-glass is there as well (with the white protective film on it.). I am actually almost done with the Ollivanders Wands project but decided to save those pics for my next post by which time it should be complete. |
With summer in full swing, finding time to get this done has been difficult, but I have so many other things lined up that I must get this finished! I am hopeful my next post will be my finale to this project!